


In the previous article, I shared how to set up Coolify and deploy a Node.js application on a VPS using Nixpacks. It is the easiest way to deploy applications using Coolify. We don't need any knowledge of Docker.
Read Here: Deploy Node.js applications on a VPS using Coolify
In this article, we are going to see how to deploy a similar Node.js application using Dockerfile. This is a common way to deploy applications. We create a Dockerfile, which can build an image and the image can be deployed to any server.
Deploy using Dockerfile
So, for this example, we are going to take another node application built using:
TypeScript
PostgreSQL
The difference here is that we have to create a Dockerfile for our application.
Setting up the PostgreSQL database
Under Project > Environment > Resources > + New > Databases, you'll be able to see PostgreSQL. Start by adding a database into your project.
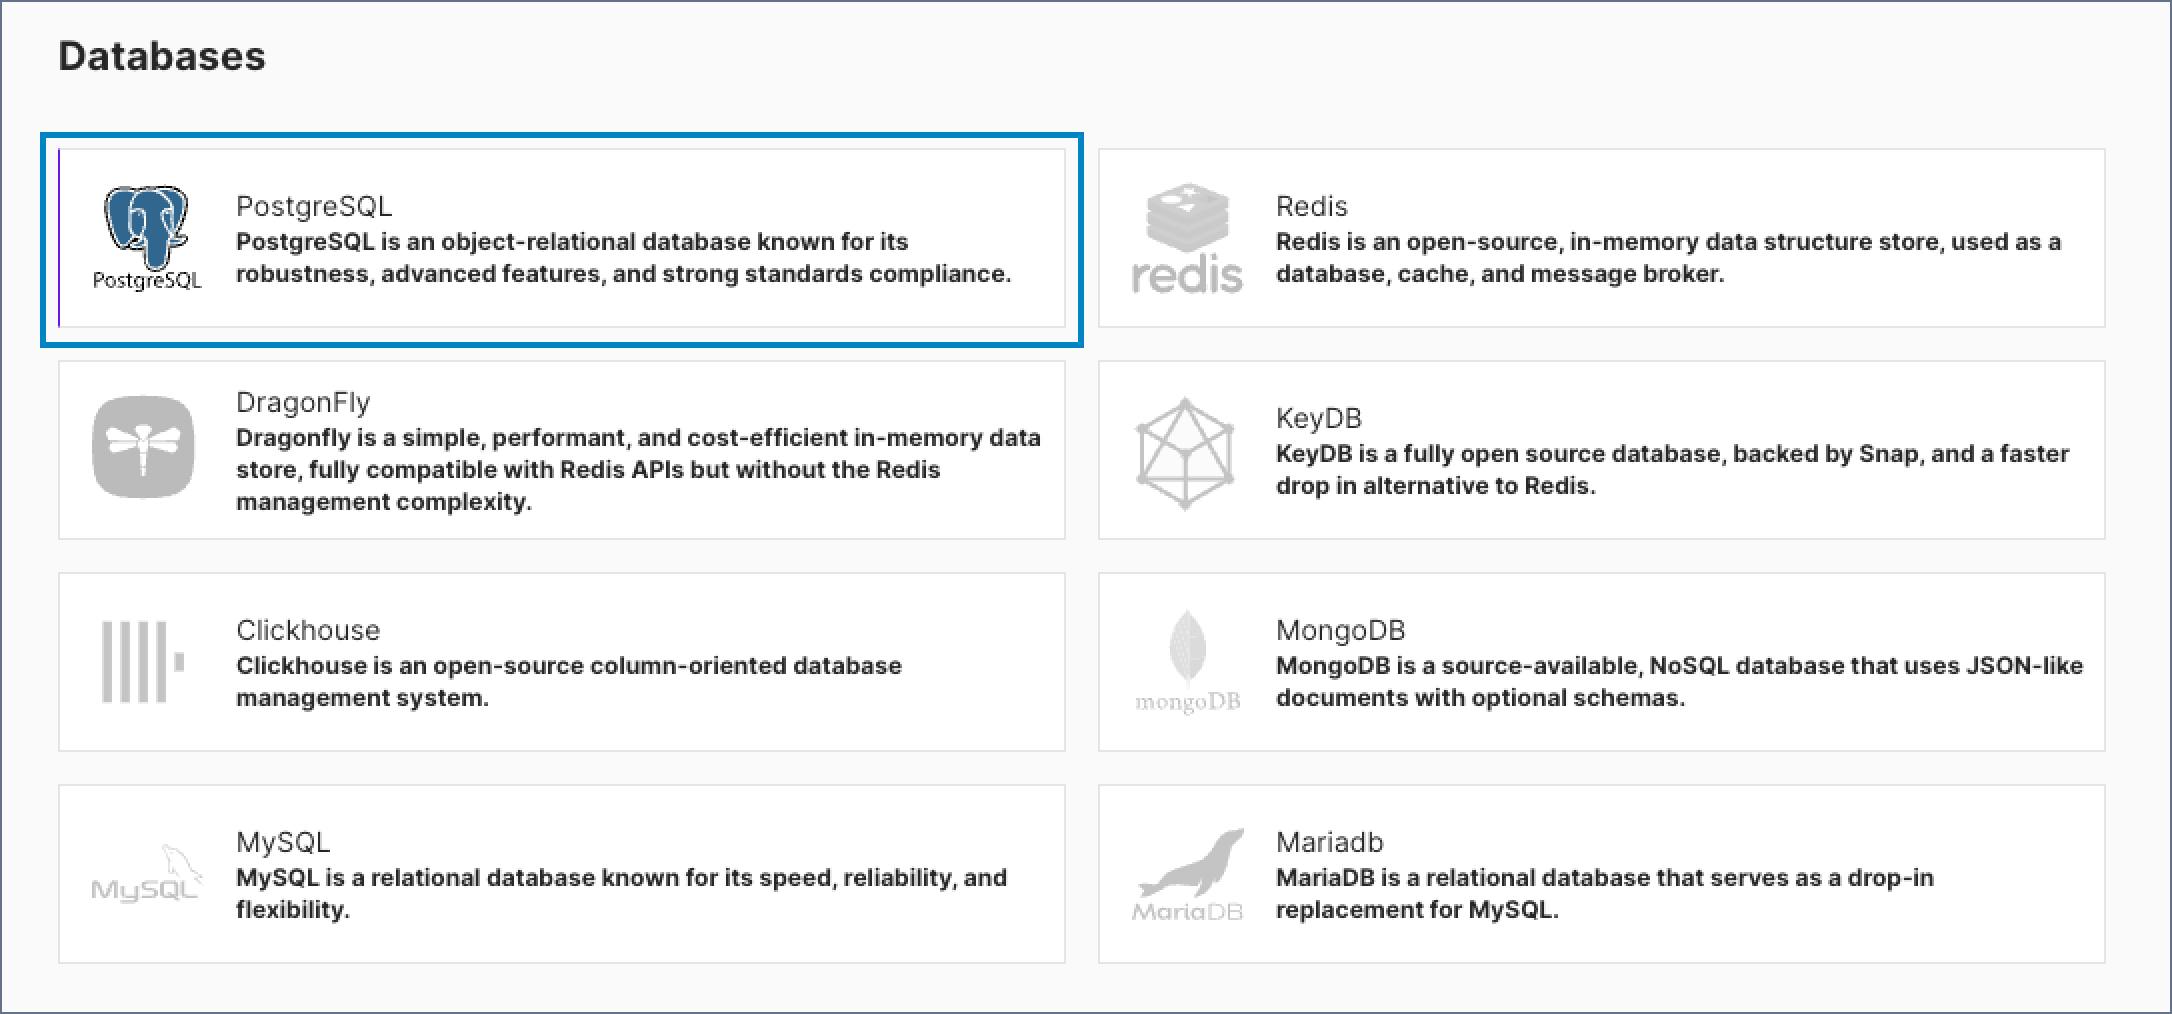
All the necessary information is prefilled, and we are good to go. Clicking on Start will spin up a docker container. Wait for the process to complete and once done, the status would say Running.

Deploying The Node Application
For deploying our node application, we start by adding a new resource to your project by going to Project > Environment > Resources > + New > Public Repository
https://github.com/adisreyaj/notes-api-fastify
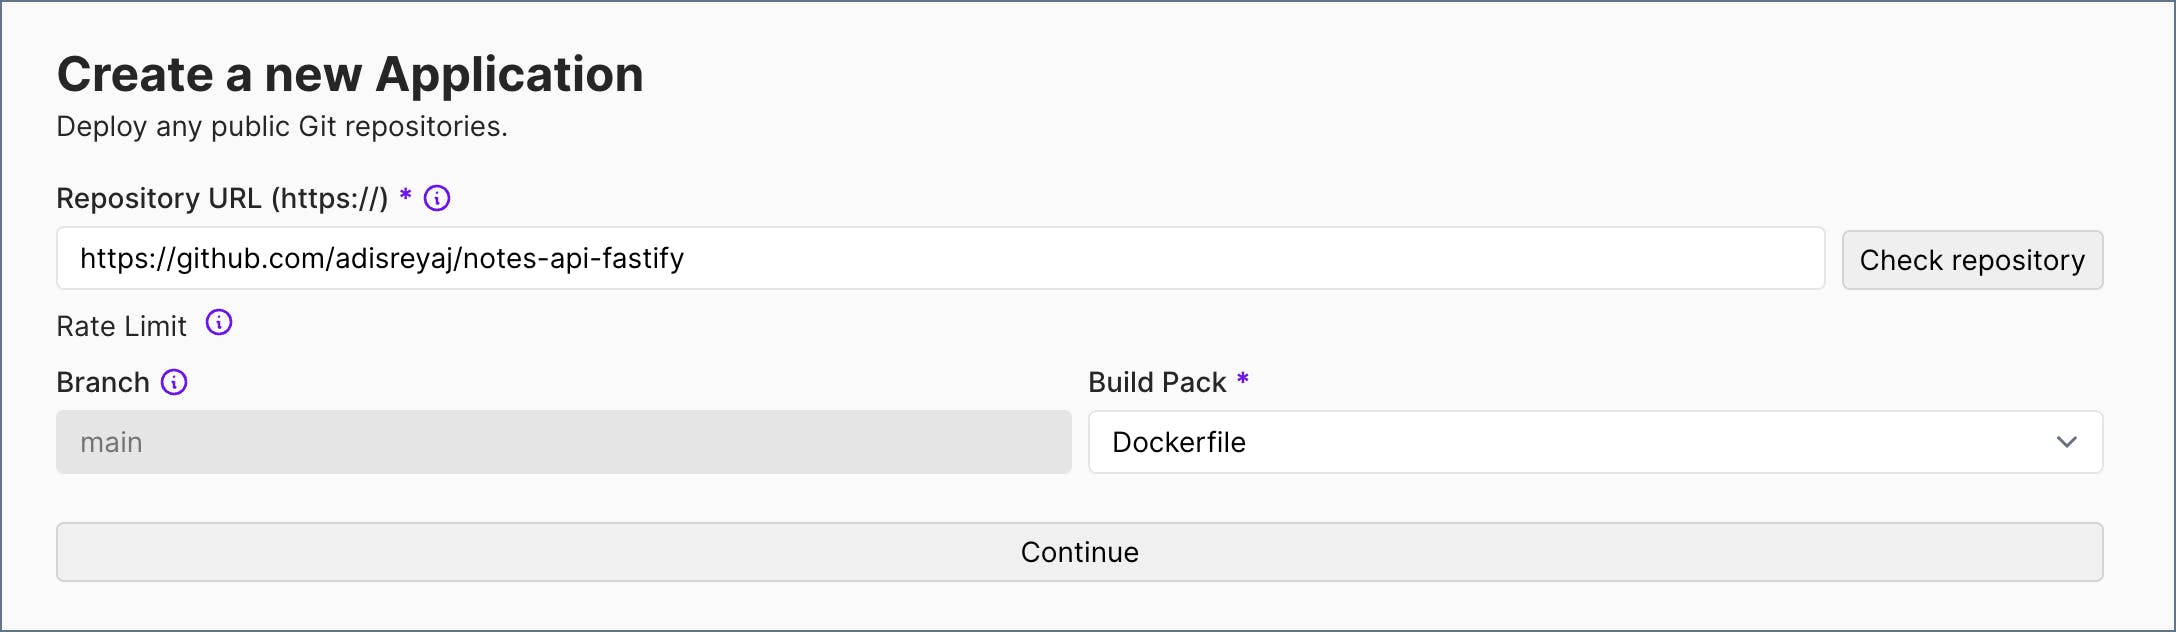
Make sure you have selected Dockerfile under Build Pack option.
Here's the Dockerfile of our sample app:
FROM node:21-bullseye-slim

ENV DATABASE_URL=${DATABASE_URL}
ENV PORT=${PORT}

WORKDIR /

COPY package*.json ./
COPY . .
ADD prisma .

RUN npm ci
RUN npm run build
RUN npx prisma migrate deploy

EXPOSE ${PORT}

CMD ["npm", "start"]
Configure environment variables!
We need to configure the environment variables that are consumed by our application. Navigate the Environment Variables page and start adding the following variables.
Copy the Postgres URL (internal) from the database configuration page.
postgres://postgres:VrKrSbxvicsQR45w0XTt@e34ds48g44o:5432/postgres
Add the following variables: DATABASE_URL

DATBASE_URL as Build Variable as Prisma will run the migrations in the build phase so we need the variable to be accessible then.The value provided in the Ports Exposes will be used by the application.

Deploy the application!
Once we have configured the env variables, we can go ahead a Deploy the application. Coolify shows the logs of the process, we can click on Show Debug Logs to see detailed logs.
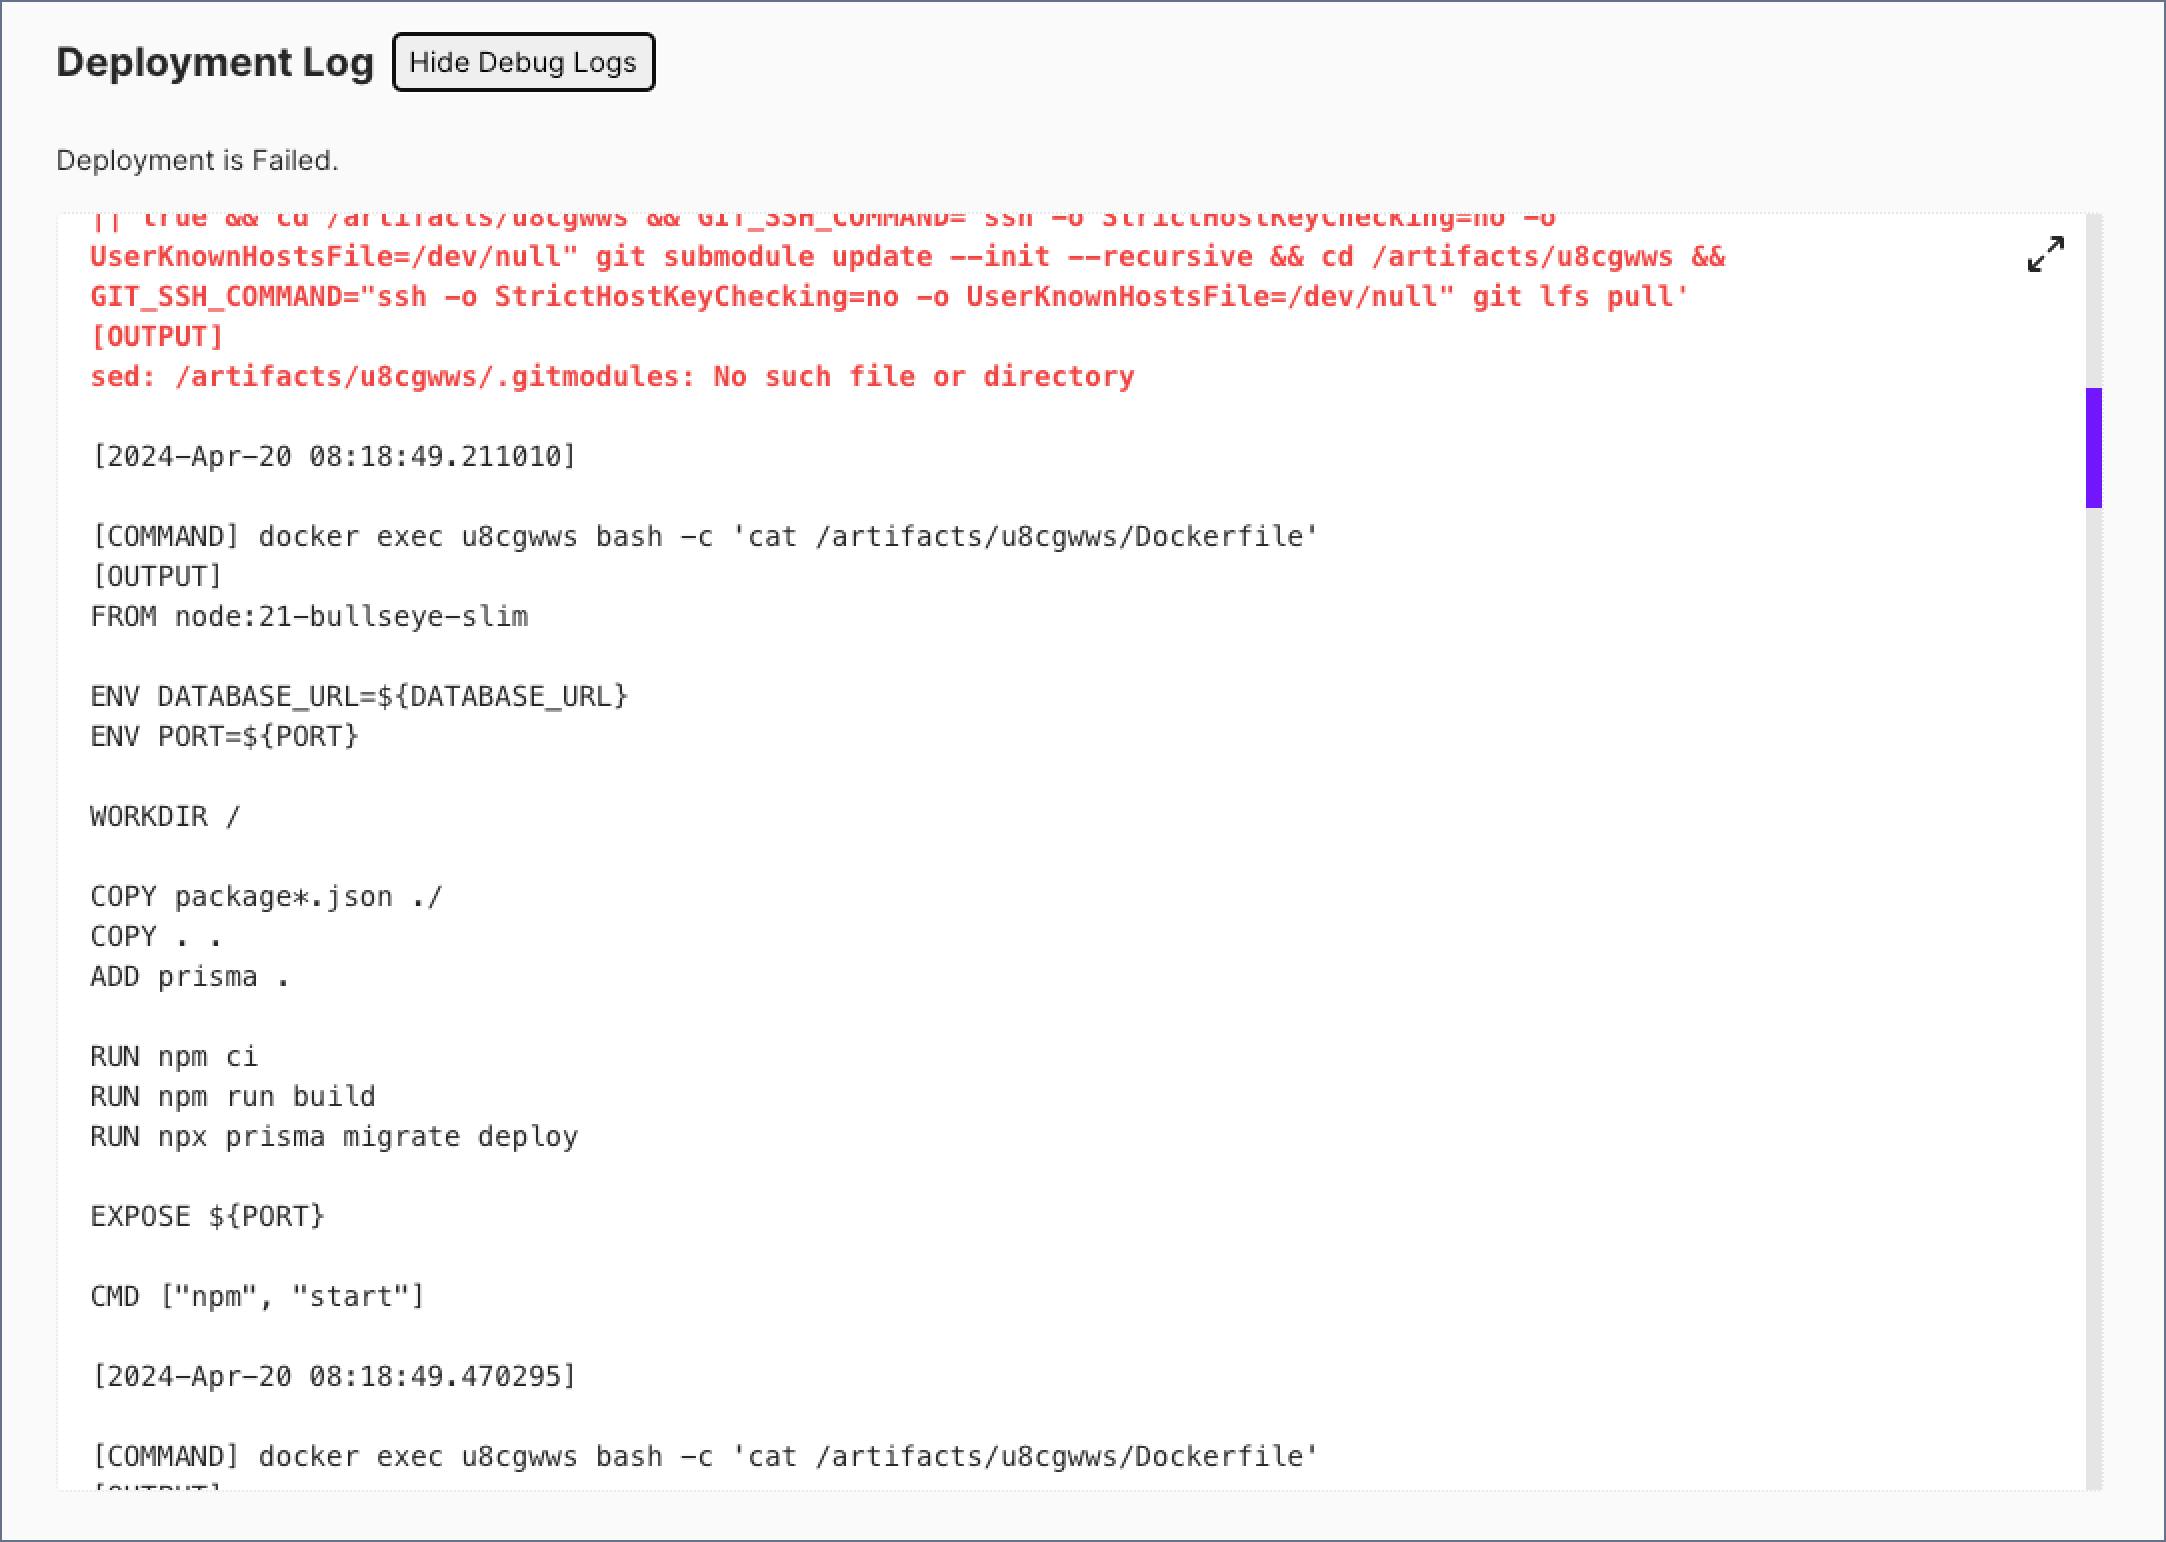
Once the application is deployed successfully, we can view the logs of the application under the Logs tab.

Feel free to reach out to me if you are having trouble in deploying using above mentioned steps. Happy to help.
Troubleshoot
Prisma Migrate Failed
If you are getting the following error:
ERROR: failed to solve: process "/bin/sh -c npx prisma migrate deploy" did not complete successfully.
Make sure that you have provided the correct database URL and also Build Variable is checked.
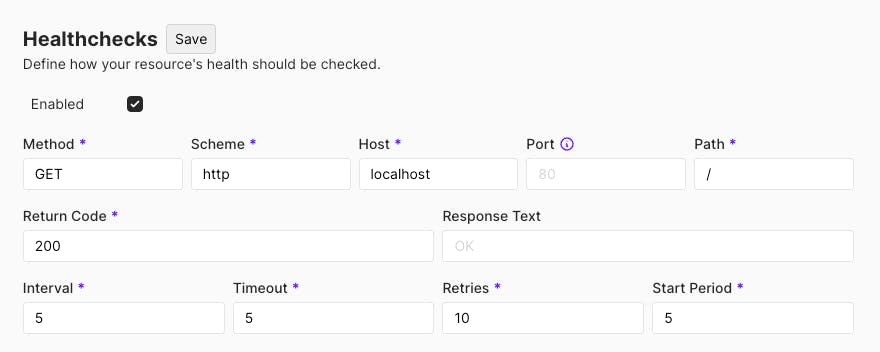
Health Check Fail
Make sure the Health Checks configuration is correct. If you don't want to run health checks, make sure to turn it off.
Connect with me
